

I decided to make a vegan sushi roll myself and was really interested in how quinoa would taste since it is so much more nutritionally dense than rice. Thus this recipe was born!
Ingredients/Equipment
- 1 1/2 c uncooked quinoa
- 2 cups water
- 3 tbsp rice vinegar
- 1 tbsp granulated sugar
- 1/2 tsp salt
- Roasted seaweed/sushi nori sheets
- avocado, sliced into strips
- cooked tempeh, sliced into strips (I used trader Joe's)
- Tamari or other gluten free soy sauce
- (Optional toppings - pickled carrots, cucumber, sweet potato... Get creative!)
- Plastic or wooden bowl
- Wooden spoon or sushi rice paddle
- Sushi mat or thick towel
- Saran wrap
- Thick, sharp knife
Preparation
- Combine rice vinegar, sugar, and salt in a small bowl and stir until dissolved (you may need to heat it in the microwave).
- Slice the tempeh, avocado, and any other fillings you are using. Prepare the tempeh strips by soaking it in a shallow bowl of tamari/seaweed until you use it.
- In a medium strainer, rinse the uncooked quinoa very well (this gets rid of the aftertaste some brands leave behind).
- Combine the quinoa and 2 cups water in a pot on high heat, stirring occasionally. When it begins to boil, turn the heat down to low, cover the pot, and let it cook for about 15 minutes.
- *Important - do not disturb the quinoa! Don't open the pot unless the 15 minutes are up. You want the quinoa to be fluffy but slightly mushy and overcooked so it sticks together well during the assembly.
- When the quinoa is done, put it in a plastic or wooden bowl (not metal - the vinegar won't take well to a metal bowl). Use a wooden spoon or a rice paddle to drizzle in the rice vinegar mixture until it's well combined. Put a cheese cloth or saran wrap over the quinoa when not in use so it stays moist.

Assembly
(Note - if you are a first-time sushi maker, this may take one or two rolls before your sushi looks presentable. Don't get frustrated, you'll get it eventually! If you get stuck, youtube tutorials really help!)
(Note - if you are a first-time sushi maker, this may take one or two rolls before your sushi looks presentable. Don't get frustrated, you'll get it eventually! If you get stuck, youtube tutorials really help!)
For hosomaki rolls (nori on the outside)


- Break a sheet of nori in half.
- Using rice vinegar to wet your fingers, evenly press a 1/4 in. layer of quinoa onto the nori sheet, except for a centimeter at the bottom.

- Line up the fillings close together about 1 inch from the top.

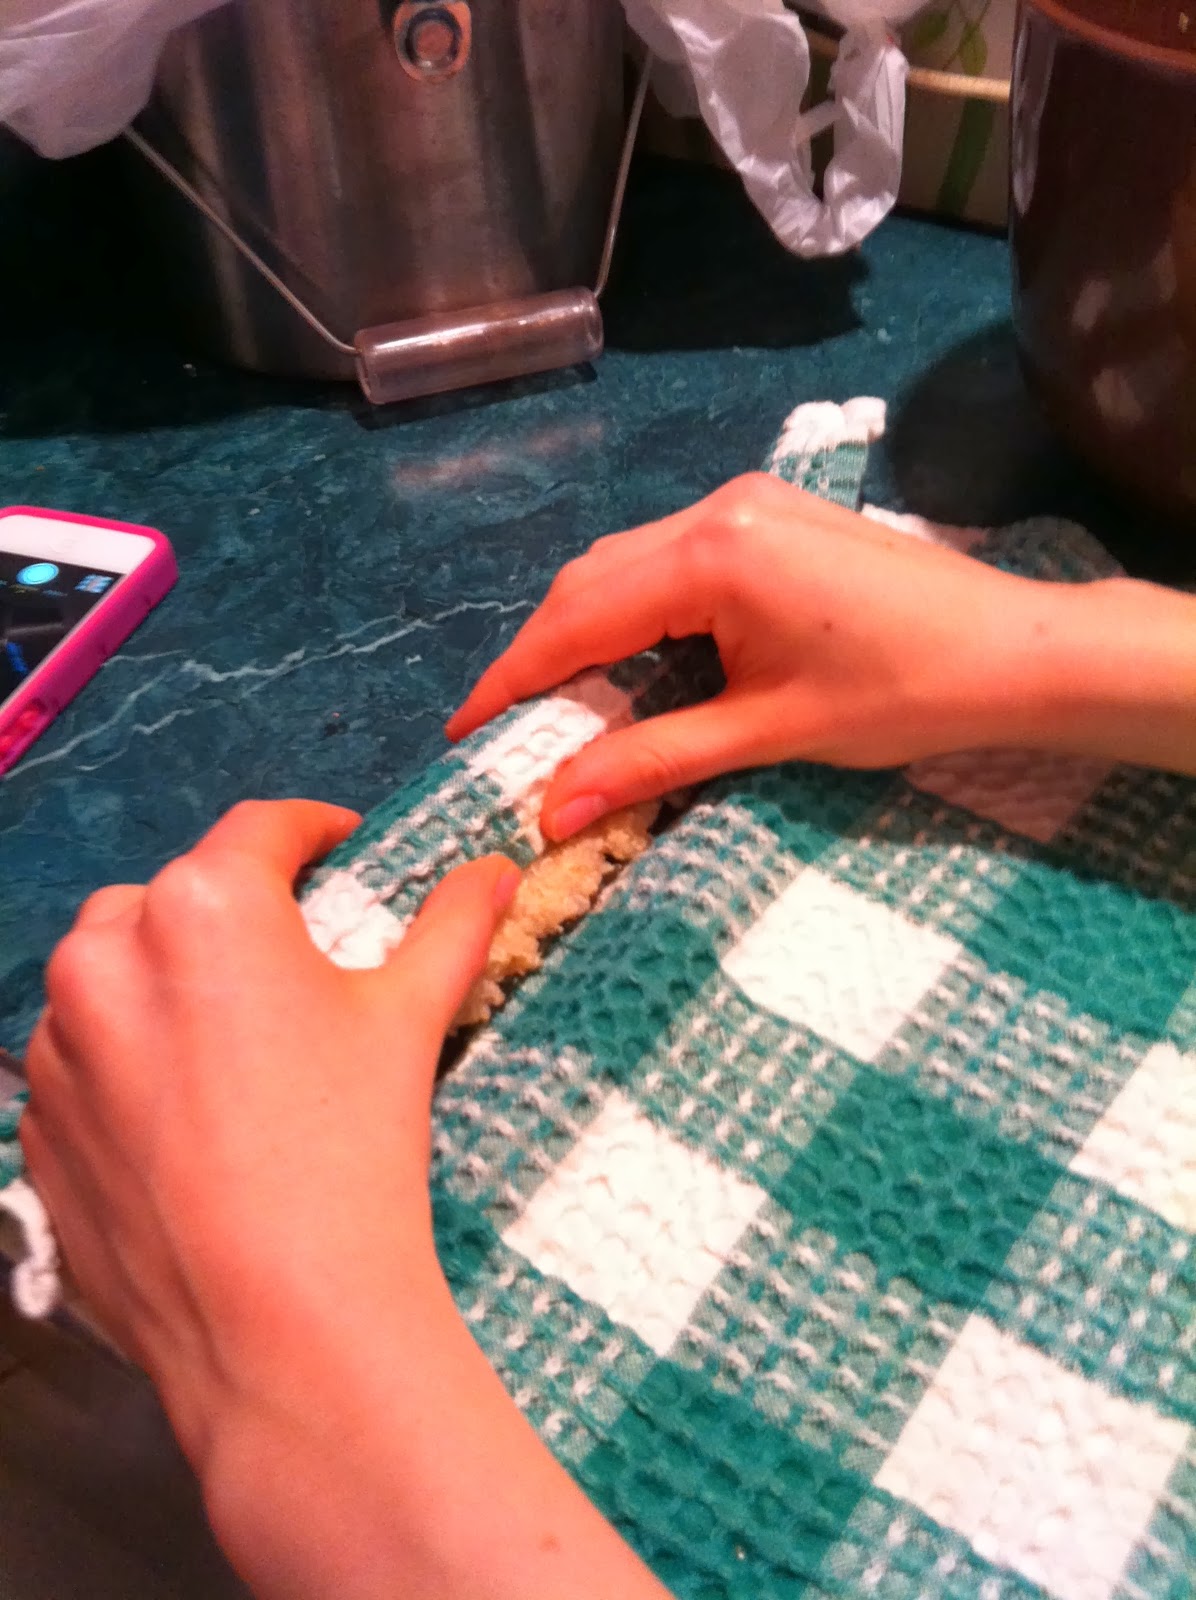
- Using the towel or sushi mat, fold the edge tightly over the fillings. Press it together, hard. Continue to roll firmly to the end, without rolling the towel or mat into the actual sushi. Roll it out gently to even out the shape.
- Seal the loose end of the nori with a dab of rice vinegar.
- Evenly slice the sushi with a wet, sharp knife (place the "ugly" ends flat side up, or just eat them!)


For uramaki rolls ("inside out" rolls)
- Break a sheet of nori in half.
- Using rice vinegar to wet your fingers, evenly press a 1/4 in. layer of quinoa onto the entire nori sheet
- Lay the sheet quinoa-side-down onto a piece of saran wrap. Add a 1 cm strip of packed quinoa at the bottom of the sheet.
- Line up the fillings close together about 1 inch from the top.

- Using the towel or sushi mat, fold the edge tightly over the fillings. Press it together, hard. Continue to roll firmly to the end, without rolling the towel or mat or saran wrap into the actual sushi. Roll it out gently to even out the shape.

- Carefully remove the saran wrap, and evenly slice the sushi with a wet, sharp knife (place the "ugly" ends flat side up, or just eat them!)

When you are satisfied with the presentation of your sushi, chill if desired and serve with pickled ginger, wasabi, and soy sauce of choice. Itadakimasu!